MCUboot with BeagleConnect Freedom
Hello everyone. It has been a while since my last post. Today, I will go over using MCUboot based serial OTA on BeagleConnect Freedom. Everything required has already been merged to upstream Zephyr now, so no special considerations should be required.
Introduction
BeagleConnect Freedom contains a simple bootloader in ROM, which boots the Zephyr application from the Flash. However, this minimal bootloader does not support advanced functionality such as OTA updates, rollbacks, etc.
Zephyr supports MCUboot, which is a secure bootloader for 32-bits microcontrollers. It helps add support for advanced production usecases such as secure boot, OTA, rollbacks, etc.
In this post, I will only be going over OTA over serial. However, it is possible to support OTA over IEEE802154g and other transport protocols.
MCUboot storage use
When using MCUboot with BeagleConnect Freedom, 56KiB is reserved for MCUboot. This leaves 640KiB of main flash for use by the Zephyr application.
The on-board SPI flash is used to store the secondary image. So outof 2MiB, 1280KiB is available for Zephyr application use.
Demo
For the demo application, I will be using the smp_svr example provided by Zephyr.
Setup Zephyr
Follow the Getting Started Guide to set up Zephyr on your machine. Currently, mainline Zephyr is required for out-of-the-box MCUboot support on BeagleConnect Freedom.
Setup AuTerm
Download and set up AuTerm as described in its repository.
Build Zephyr Application
- Build smp_svr + MCUboot using sysbuild.
- Combine the MCUboot and application binary. The application offset should be 56KiB.
- Flash the application.
- Check serial output.
Perform Serial OTA
Launch AuTerm.
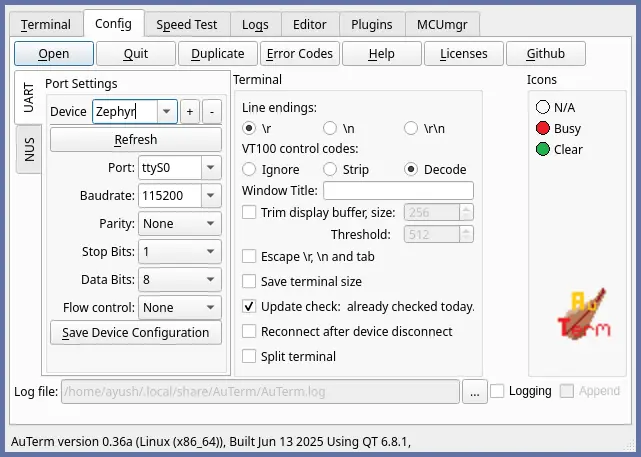
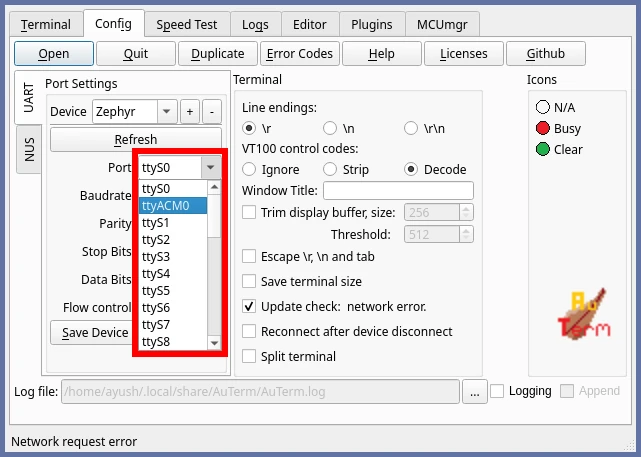
Select BeagleConnect Freedom Port.
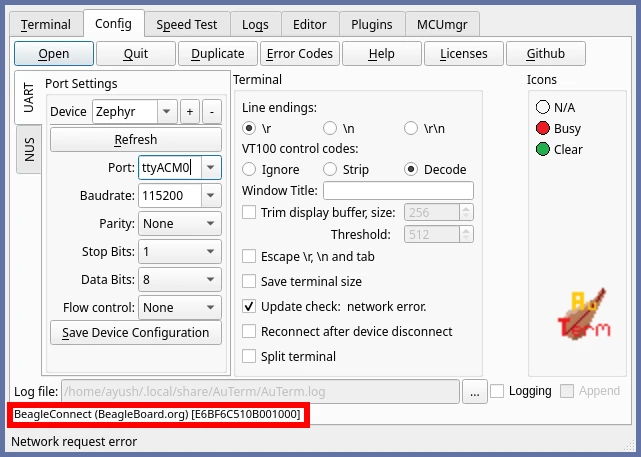
Verify the port.
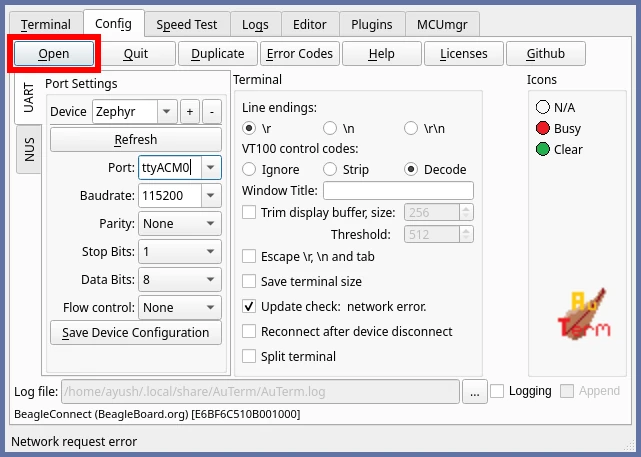
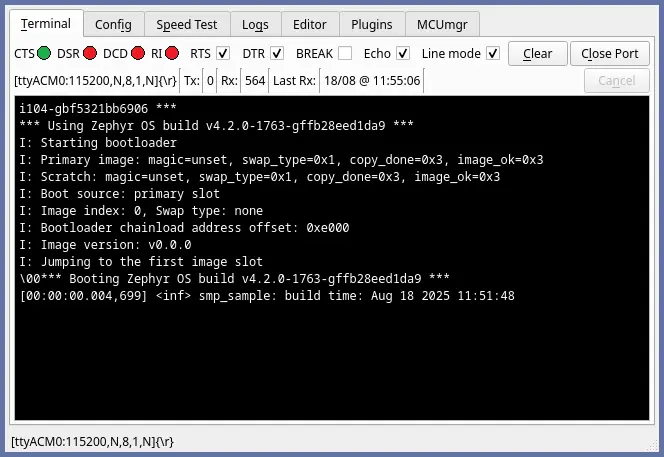
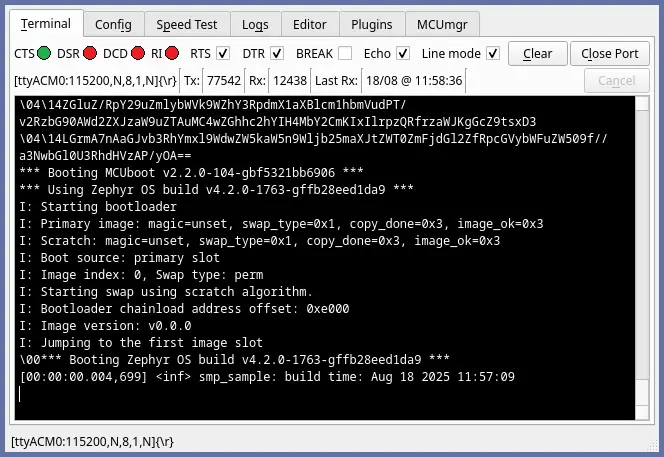
Open the Port. This will drop you into the Terminal tab. Take note of the build time.
Press the reset button on BeagleConnect Freedom and verify the serial output.
Rebuild the firmware as described above
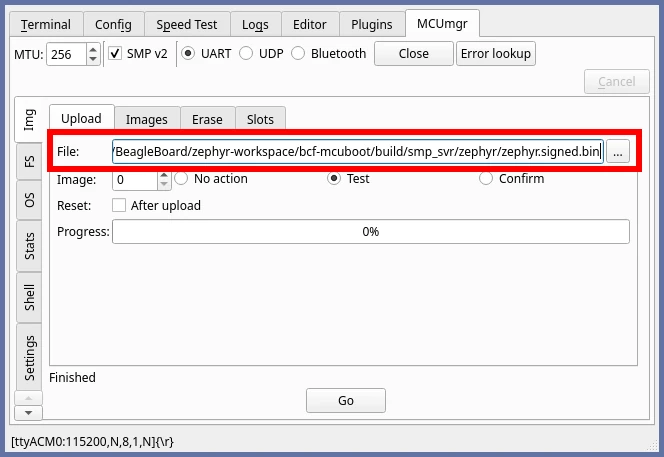
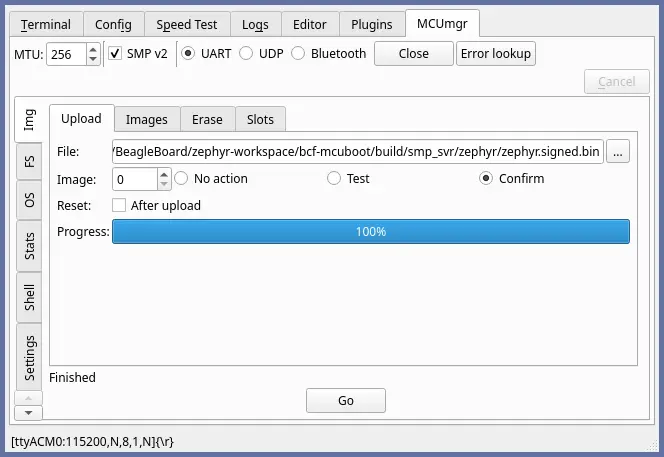
Navigate to the MCUmgr tab.

Select the newly built signed firmware.
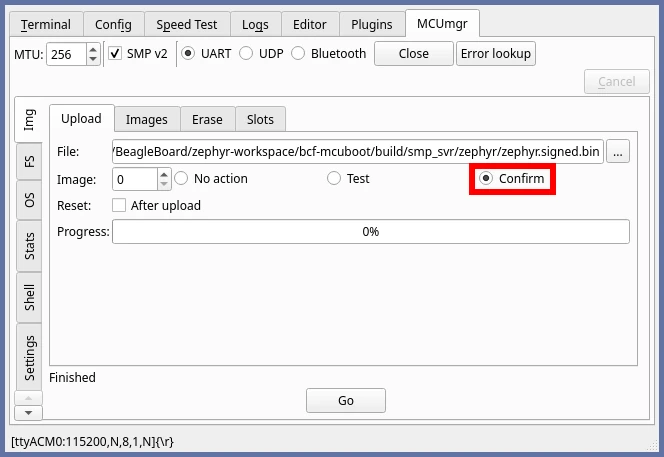
Switch action from Test to Confirm.
Press the Go button to start firmware upload.
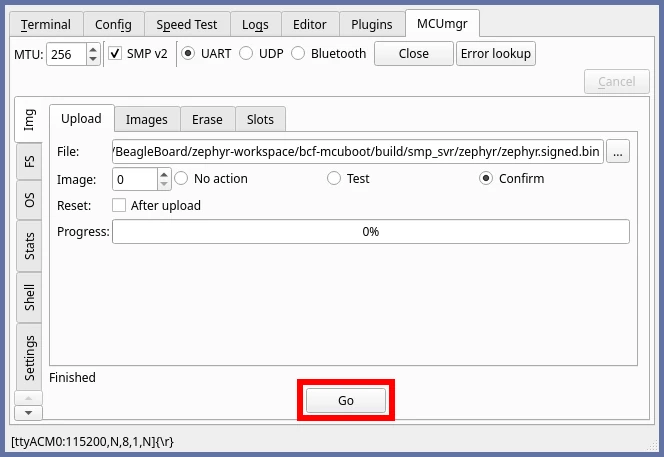
Wait for the firmware upload to finish.
Navigate to the Terminal tab to verify that the build time has changed.
Ending Thoughts
That is all for this post. Hopefully, this serves as an example for anyone trying to have OTA working with BeagleConnect Freedom.
Consider supporting me if you like my work.